App Tracking can be considered relatively new. As far as I remember 4-5 years ago no one paid much attention to it. However, with the widespread use of mobile apps today, App tracking or Firebase Analytics has become a concept that must be known.
To track App data on Google Analytics 4, we need to use Firebase Analytics. Previously, Firebase Analytics was a separate product, but with Google’s acquisition of Firebase, it was merged with Google Analytics. In short, all the data you send to Firebase Analytics is reflected in your Google Analytics 4 property.
In this article, I’ve explained how to integrate app tracking with Firebase Analytics for Android applications and I’ve covered debug options. Enjoy.
Create a Firebase Project
If you want to track your Android application on GA4, you need to create a Firebase project first. There are two things you can do for this. If you want to send events to an existing analytics account, you can create a new datastream for Android. But if you want to track on a new GA4 property, you need to create a new account via the Firebase console. You can also send data to an existing Google Analytics account through the Firebase console but you must not have previously linked your GA4 account with another Firebase project.
1 – Create A Data Stream on GA4
Create a new datastream for Android on GA4.
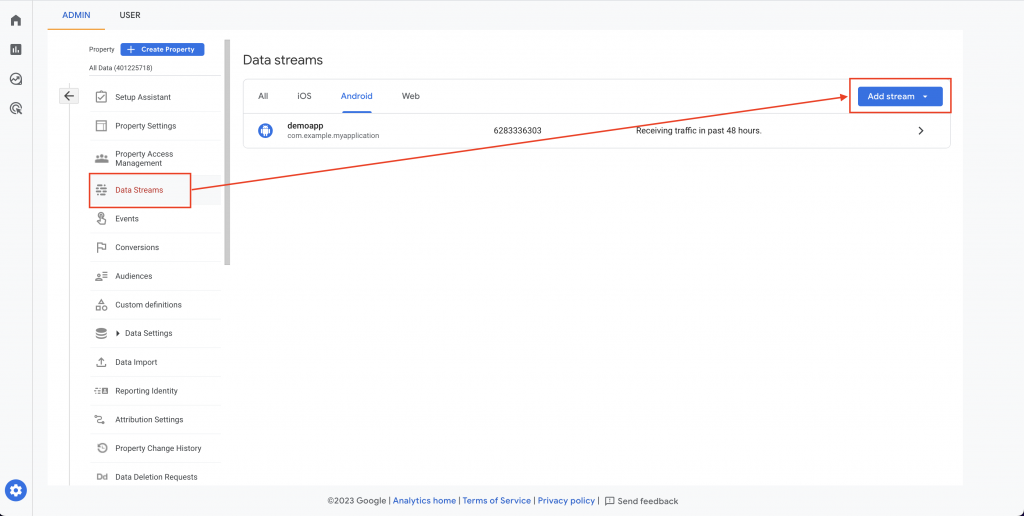
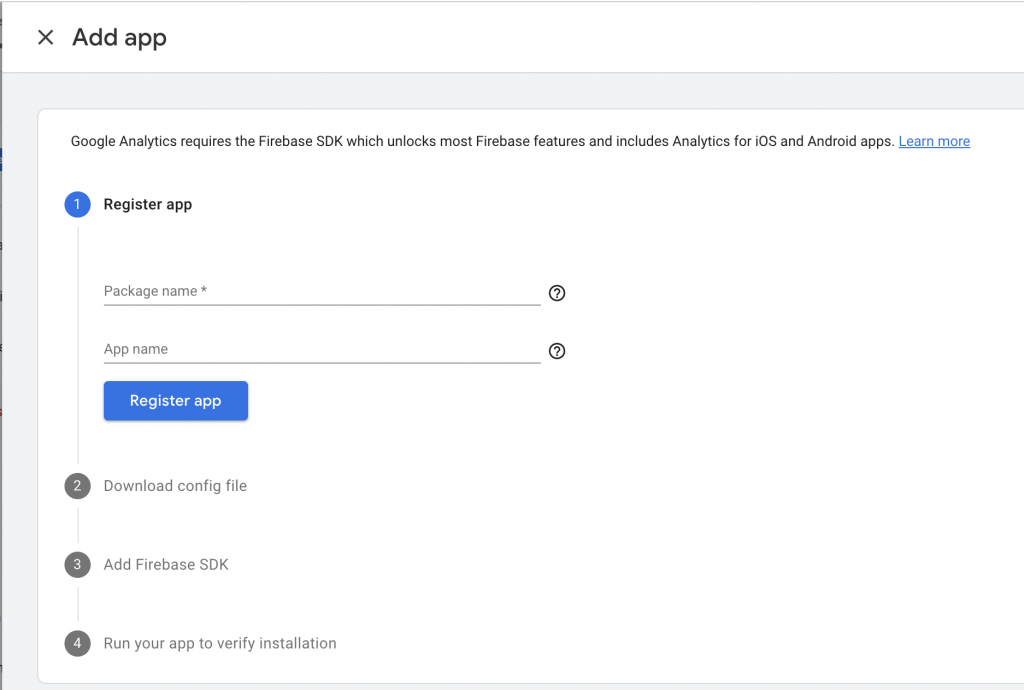
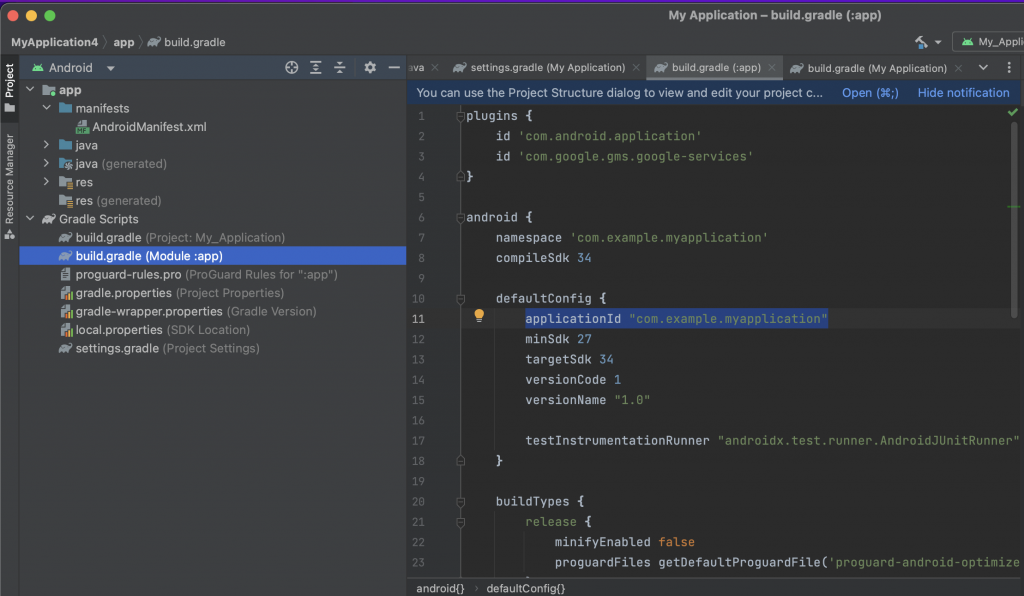
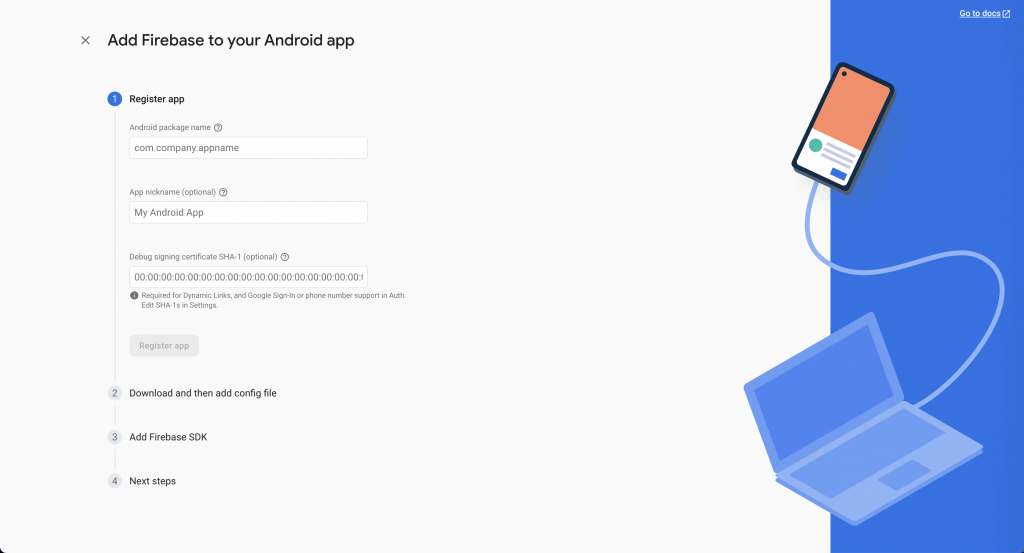
As you can see in the screenshot above, you will be asked for two pieces of information initially. The first is the package name (you can find this information in the Android Studio in the app-level build.gradle file as ‘applicationId’).
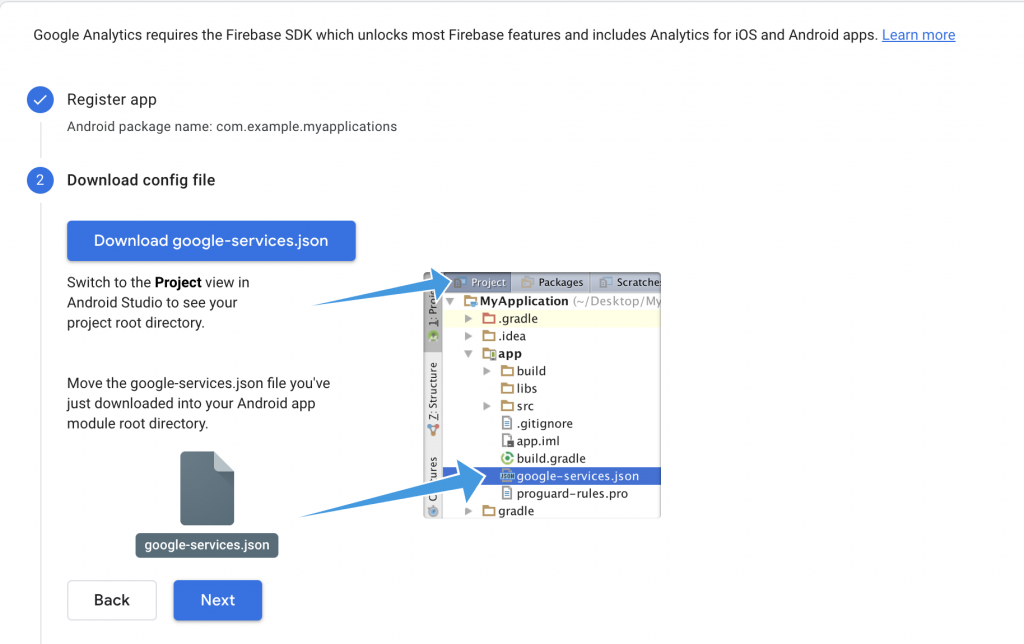
The other is the app name (this part will only be used as the stream name, so you can give any name you want). After entering this information and clicking the “Register app” button, the panel will ask you to download the google-services.json file and place it in the app folder within your project. This file is necessary for the SDKs to send data to the Analytics server in the next steps.
Once you complete this step and click the next button, you will receive instructions for the Firebase setup.
but at this point, you might see that some dependencies and plugins need to be added to the app-level build.gradle and project-level build.gradle files. However, since the information provided is more compatible with older versions of Android Studio, I find it more logical to follow the Firebase documentation (which I will explain below). When you complete all these steps, you are ready. Your stream is created.
2 – Create a New Project on Firebase Console
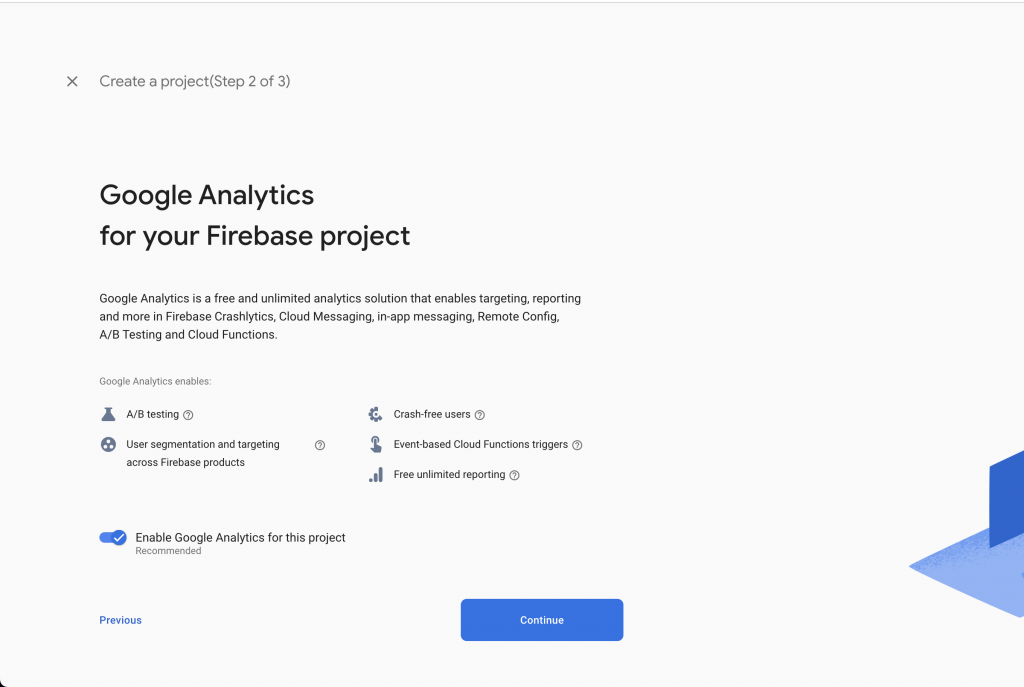
If you want to track events on a new Analytics Property, you first need to go to https://console.firebase.google.com and create a new project. When you click the “Add Project” button, it will ask you for a project name, use a project name as you like. Then, you will be asked whether you want Google Analytics for this project or not. Leave the “Enable” option on.
After clicking “Continue,” you will encounter an important screen because it determines whether you want to create a new property or send data to an existing Analytics account.
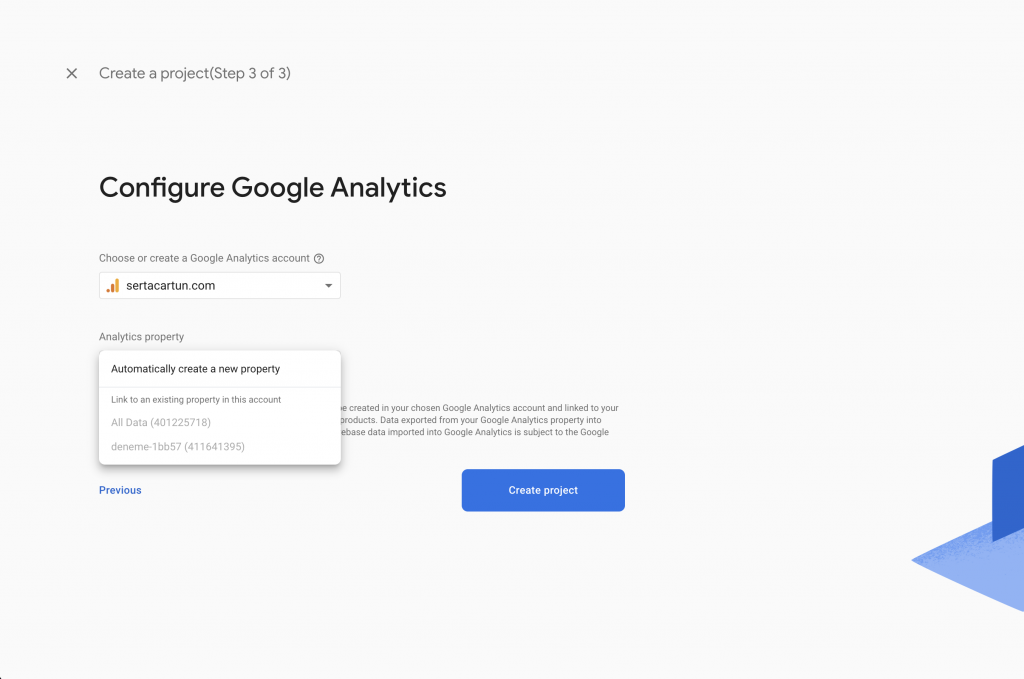
As you can see, when I choose my Analytics account, the main property “All Data” is grayed out, I can’t choose to send data to an existing property because I’ve already linked my analytics account to a Firebase project, but you can choose to do so. If you select the “Automatically create a new property” option, you will create a new property.
In both cases, a project will be created and you need to follow the steps we encountered in the previous step.
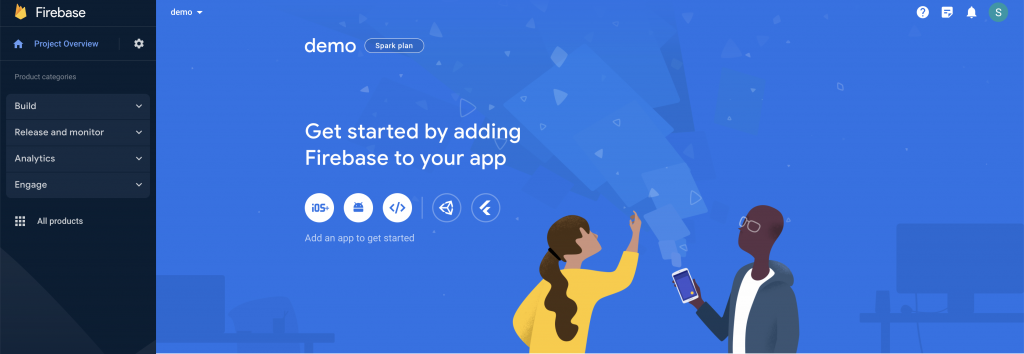
You need to perform a series of operations when you click on the Android icon such as package name, app name, downloading and adding the config file to your project, and installing the Firebase SDK.
I won’t provide the information given by the Firebase panel for SDK integration, as I will explain the integration part below. Just create the project and read the section below for integration.
Firebase Analytics SDK Implementation
In this step, we need to perform some actions within Android Studio. I’ll try to explain step by step.
1 – Google-services.json
When we create a data stream or a project on the Firebase console, in both of these stages, it will ask you to download a JSON file and place it in your project’s app folder. This part is important because credential informations mentioned in this file.
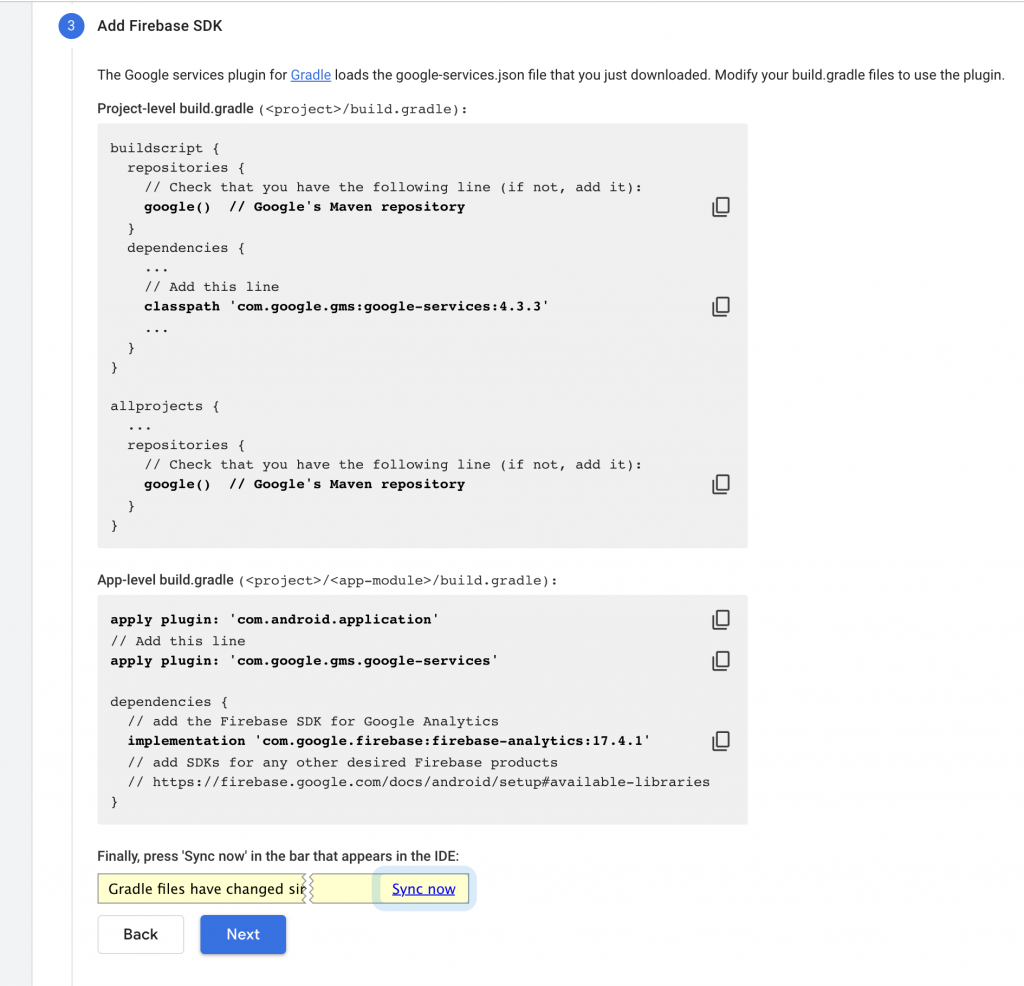
2 – App level build.gradle
In this file, we need to make some changes in the plugins and dependencies section. Please add the missing parts from the sections below to your app-level build.gradle file.
plugins {
    id 'com.android.application'
    id 'com.google.gms.google-services'
}

apply plugin: 'com.android.application'
apply plugin: 'com.google.gms.google-services'

dependencies {
    implementation platform('com.google.firebase:firebase-bom:32.3.1')
    implementation 'com.google.firebase:firebase-analytics'
}
3 – Project level build.gradle
In this file, we also need to make the following changes. Add the lines that are missing to your project.
buildscript {
    dependencies {
        classpath 'com.google.gms:google-services:4.3.10' // google-services plugin
        classpath 'com.android.tools.build:gradle:7.4.2'
    }
}

plugins {
    id 'com.android.application' version '7.4.2' apply false
    id 'com.android.library' version '7.4.2' apply false
    id 'com.google.gms.google-services' version '4.3.10' apply true
}
The version you see in the last line is originally 4.3.15 in the Firebase documentation, but for some reason, when I used the version specified in the documentation, I got the “Missing google_app_id. Firebase Analytics disabled” error. Therefore, when I lowered the version, it worked smoothly.
4 – Import Firebase Analytics to mainActivity
In this section, although it’s not provided in the Firebase Analytics documentation, you need to add Firebase Analytics to your project in order to start using it.
import com.google.firebase.analytics.FirebaseAnalytics;
5 – Declare Firebase Analytics Object
we need to define the Firebase Analytics object within the “public class MainActivity” section in MainActivity,
private FirebaseAnalytics mFirebaseAnalytics;
6 – Initialize Firebase Analytics
Finally, in this section, we need to initialize Firebase Analytics in the “onCreate” method inside MainActivity.
mFirebaseAnalytics = FirebaseAnalytics.getInstance(this);
If you have completed the above steps, it means your project is ready to send data to Analytics.
Send Events to GA4
As you know, in Google Analytics, there are two different types of events: custom events and e-commerce events. Let’s start with an example of a custom event.
1 – Custom Events
If you want to send a custom event to Firebase Analytics, all you need is the event name and event parameters. In the example below, we created a “click_image” event and used “image_name” and “full_text” as parameters. In our reports, we will see the “click_image” event and the parameters we sent. I will show an example related to this in the debugging section shortly.
Bundle params = new Bundle();
params.putString("image_name", "summer-holiday");
params.putString("full_text", "enjoy your summer holiday with us");
mFirebaseAnalytics.logEvent("click_image", params);
Another important point to remember is that we can assign certain values to all our events. In the example below, I gave an example using the “setDefaultEventParameters” function. If you use this function, the “level_name” and “level_difficulty” information will be added to all the events you send.
Bundle parameters = new Bundle();
params.putString("level_name", "Caverns01");
params.putInt("level_difficulty", 4);
mFirebaseAnalytics.setDefaultEventParameters(parameters);
2 – Enhanced Ecommerce Events
If you want to send advanced e-commerce events to Firebase Analytics, you need to use a different event schema. All e-commerce events have their own specific names, and we need to pay attention to these naming rules when sending these events so that the e-commerce reports reflect the information correctly. You can find more detailed information at Google’s Documentation.
The list of advanced e-commerce events that you can send with Firebase Analytics is as follows. (If you are familiar with GA4 integration, these names will probably look familiar to you.)
| Event Name | Parameters |
|---|---|
| VIEW_ITEM_LIST | See here |
| SELECT_ITEM | See here |
| VIEW_ITEM | See here |
| ADD_TO_WISHLIST | See here |
| VIEW_CART | See here |
| REMOVE_FROM_CART | See here |
| BEGIN_CHECKOUT | See here |
| ADD_SHIPPING_INFO | See here |
| ADD_PAYMENT_INFO | See here |
| PURCHASE | See here |
| REFUND | See here |
| VIEW_PROMOTION | See here |
| SELECT_PROMOTION | See here |
Debug Events
When debugging, we will follow three different methods. (if you interest, you can also read my webview debugging article.)
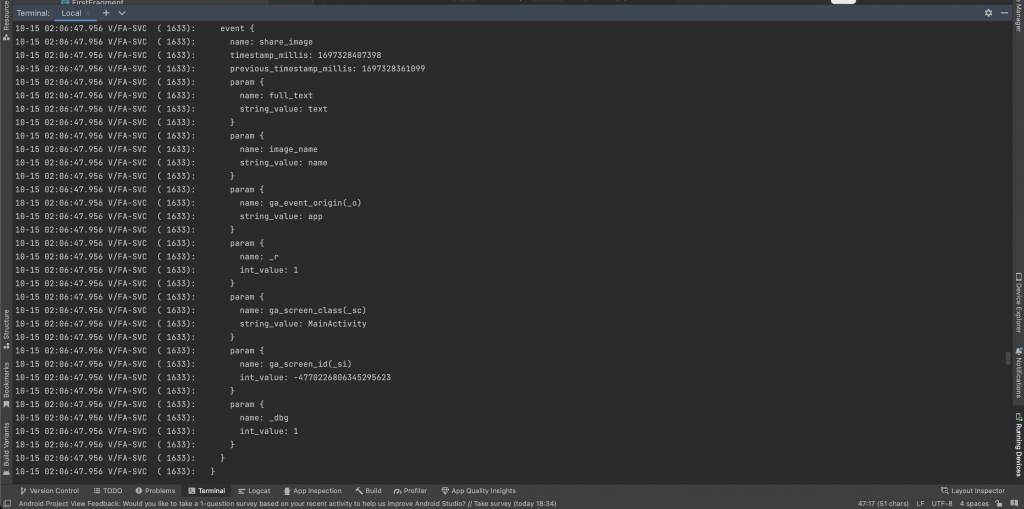
1 – Android Studio Debug Log
When you activate the Firebase Analytics debug feature, you can see which events were sent in detail in the terminal section. Paste the code below into the “terminal” section. But remember, your emulator needs to be open at this stage.
adb shell setprop log.tag.FA VERBOSE
adb shell setprop log.tag.FA-SVC VERBOSE
adb logcat -v time -s FA FA-SVC
2 – Active Debug Mode for Analytics
To track events with DebugView on GA4, you need to run the following command in the terminal. This will activate the debug mode (in short, it will add “debug_mode: 1” parameter to your events) and you will be able to debug your events on GA4.
adb shell setprop debug.firebase.analytics.app "com.example.myproject"
3 – Run your app in Debug Mode
After completing the above two steps, run your application in debug mode. This step is not mentioned in Google’s documentation, but I have seen in many cases that events are not reflected in the debug view without debug mode. Debug mode helps us with this.
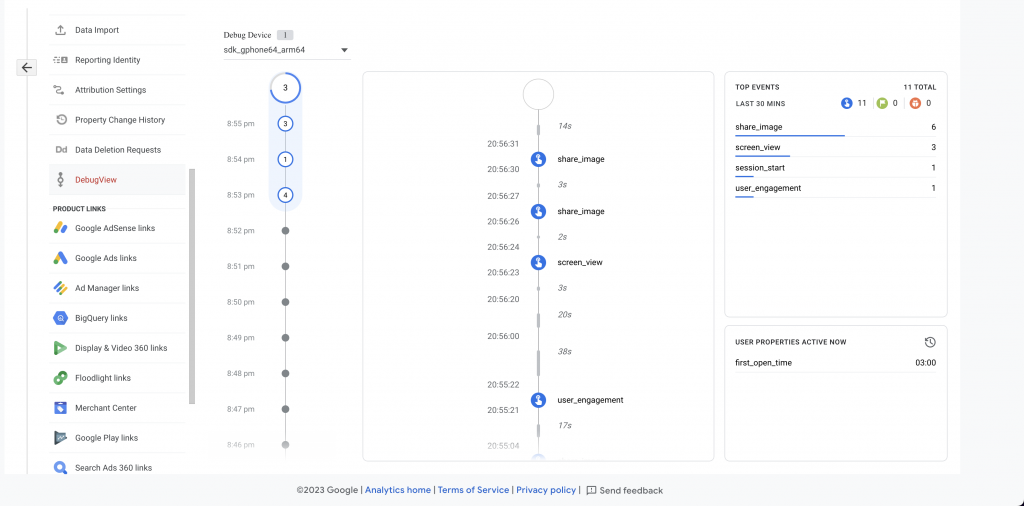
If you have followed all the steps, you should be able to see your events on GA4 DebugView panel.
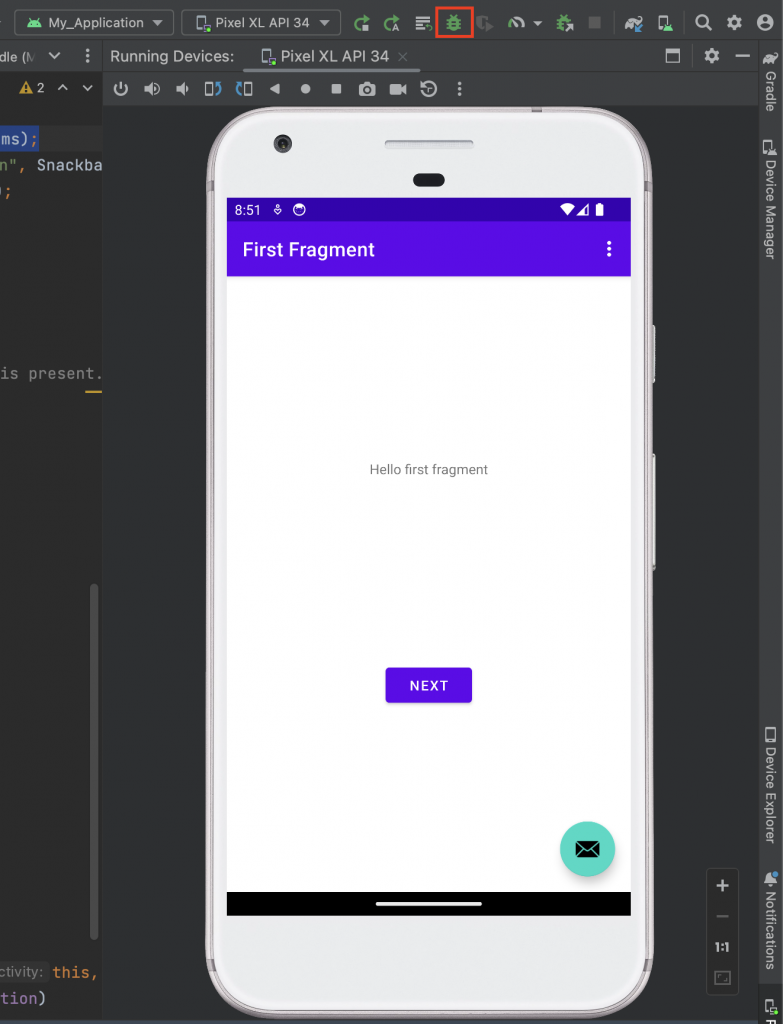
I created a simple application as you can see in the screenshot above and created a custom event to send analytics when clicking the mail icon.
When I ran the application, in addition to automatically collected events like “screen_view” and “user_engagement,” our “share_image” event also appears in DebugView.